335345435
Nov . 15, 2024 05:40 Back to list
replacing hydraulic hoses
Replacing Hydraulic Hoses A Comprehensive Guide
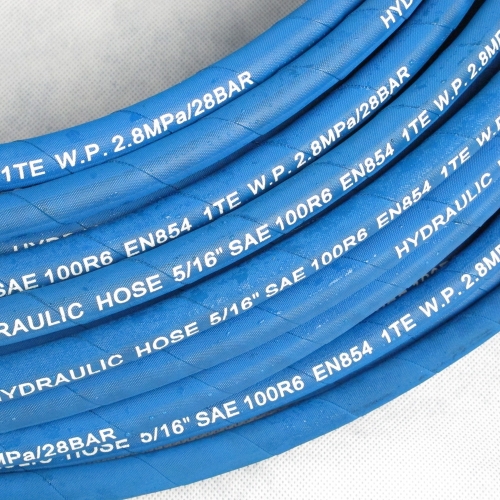
Hydraulic hoses are critical components in various machinery and equipment, often serving as the arteries that carry fluids essential for operation. They are widely used in construction, manufacturing, agricultural machinery, and numerous industrial applications. However, like any mechanical part, hydraulic hoses can wear out, become damaged, or suffer from leaks over time. This article will guide you through the process of replacing hydraulic hoses, ensuring your equipment remains efficient, safe, and functional.
Understanding Hydraulic Hoses
Hydraulic hoses are designed to withstand high pressure and are typically made from durable materials such as rubber or thermoplastic. They are reinforced with layers of steel or textile to enhance strength. Over time, hoses can degrade due to environmental factors, excessive pressure, friction, or improper handling. Recognizing the signs of wear, such as visible cracks, bulges, or fluid leaks, is crucial in preventing more severe damage to your equipment.
Tools and Materials Needed
Before replacing a hydraulic hose, gather the necessary tools and materials. You will typically require
1. Replacement Hose Ensure the new hose matches the specifications of the one being replaced. Check the length, diameter, and pressure rating. 2. Fittings New fittings may be needed, particularly if the old ones are damaged or corroded.
3. Wrench Set To remove and install the fittings securely.
4. Hose Cutter A specialized cutting tool helps ensure a clean, precise cut on the new hose.
5. Safety Gear Always wear safety goggles and gloves for protection.
replacing hydraulic hoses

Step-by-Step Replacement Process
1. Safety First Before beginning, ensure the machinery is turned off and depressurized. Disconnect the power supply to prevent accidental activation.
2. Remove the Old Hose Identify the fittings at both ends of the hose. Use the wrench to carefully loosen and remove the fittings. Be prepared for fluid to escape; have a container ready to catch any residual hydraulic fluid. Once the fittings are off, carefully remove the old hose.
3. Prepare the New Hose Cut the new hydraulic hose to the required length using a hose cutter. Ensure the cut is straight to facilitate a proper seal when installing the fittings.
4. Install New Fittings Attach the appropriate fittings to both ends of the new hose. Ensure they are securely fastened but avoid over-tightening, which can damage the fittings or hose.
5. Connect the New Hose Position the new hose in place and connect it to the hydraulic system. Again, use the wrench to tighten the fittings securely.
6. Check for Leaks After installation, it is essential to check for leaks. Reconnect the power supply and carefully operate the machinery to pressurize the system. Look for any signs of leaks at the fitting connections. If you notice any fluid escaping, turn off the machine and tighten the fittings as needed.
7. Test the System Once everything is secure, operate the equipment through its normal range of motion. This step ensures that the new hose functions correctly and can withstand operational pressures.
Conclusion
Replacing hydraulic hoses is a straightforward process that can significantly impact the performance and safety of your machinery. Regular maintenance, inspection, and timely replacement of worn hoses can prevent unexpected downtime and costly repairs. By adhering to the steps outlined above, you can replace hydraulic hoses efficiently and effectively, ensuring your hydraulic systems remain in optimal condition. Always consult your equipment's manual for specific guidelines and safety recommendations to ensure a successful hose replacement.
-
SAE 100 R17 Black Smooth Cover Hydraulic Hose
NewsMar.07,2025
-
SAE 100 R17 Black Smooth Cover Hydraulic Hose
NewsMar.07,2025
-
SAE 100 R17 Black Smooth Cover Hydraulic Hose
NewsMar.07,2025
-
SAE 100 R17 Black Smooth Cover Hydraulic Hose
NewsMar.07,2025
-
SAE 100 R17 Black Smooth Cover Hydraulic Hose
NewsMar.07,2025
-
steel wire braided hydraulic hose
NewsMar.07,2025


